Import a PDF file into your lesson

Back to: How to create a course in CBM Learning Portal
The learning objective of this module is to create lessons and upload PDF documents into them.
It takes approximately 3-5 minutes to complete this module
Step 1
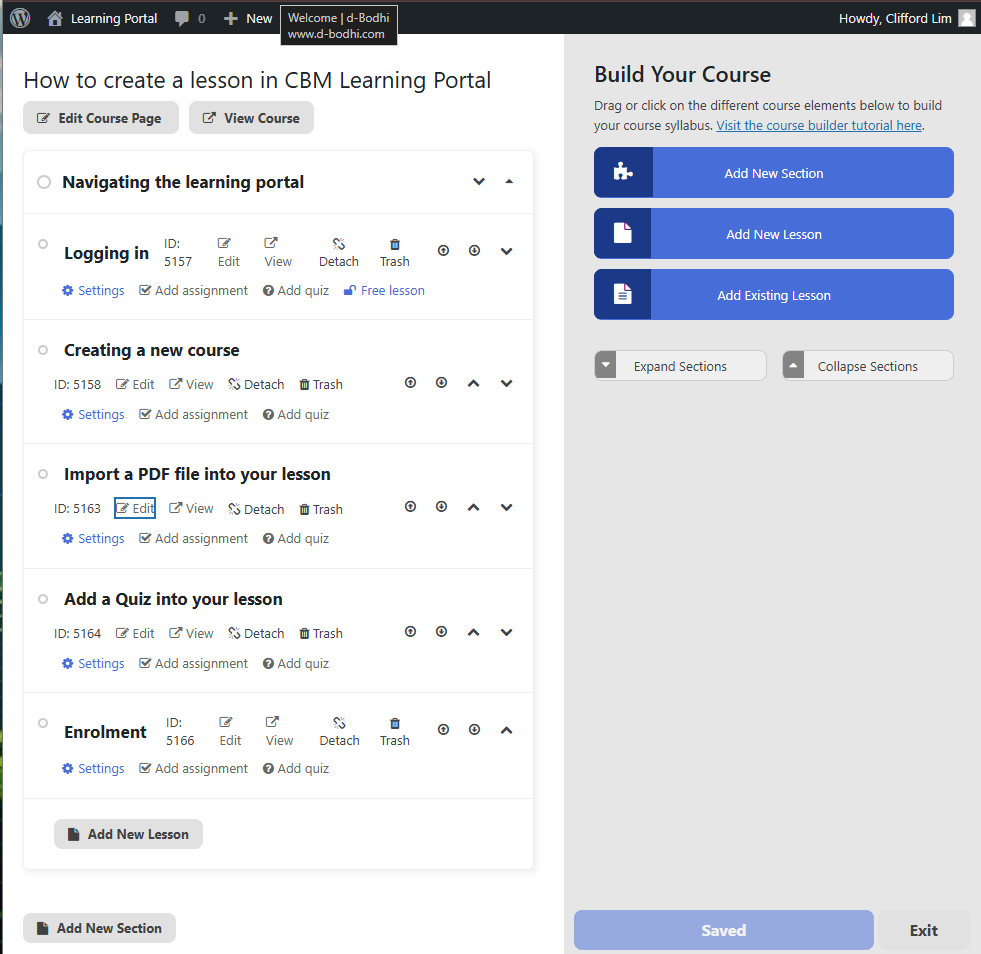
In the last module, we learnt how to access the “Course Builder”. Once you are in the Course Builder interface, you can see on the right side of the screen are options to add elements and build your course up!
Step 2
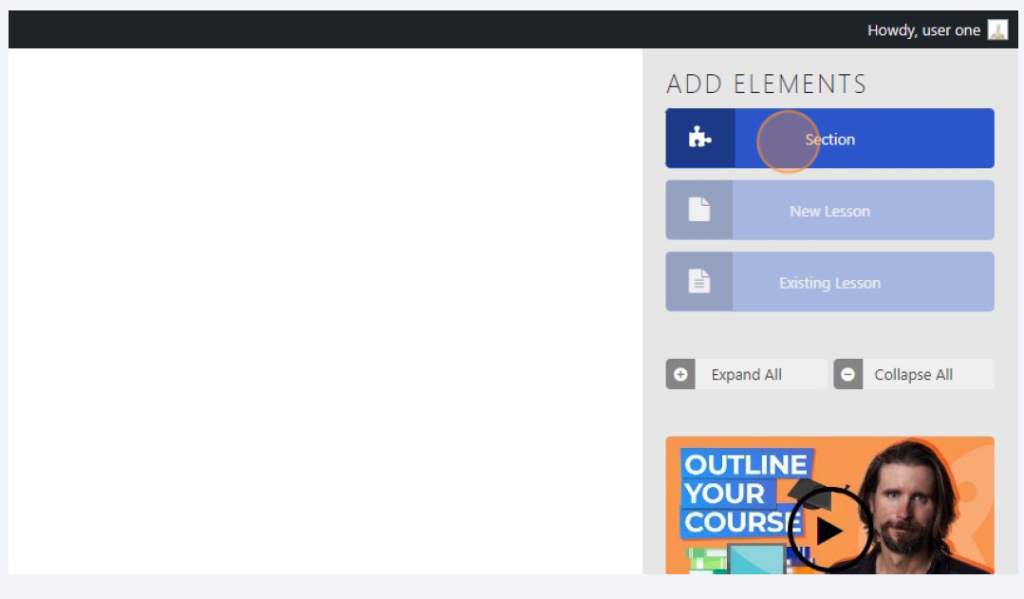
Click on the “Section” button.
Step 3
Double-click “New Section” to change the title.
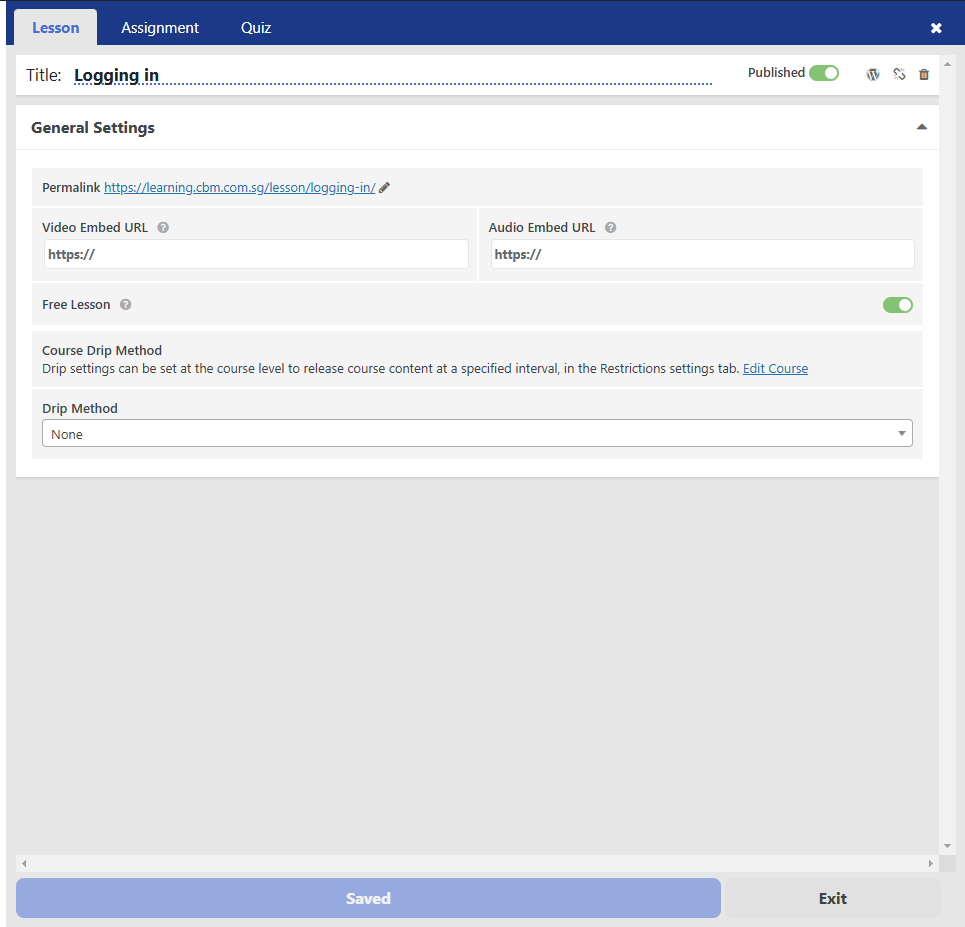
A window slides in from the right. Click on the title and change it to the name of your lesson.
Step 4
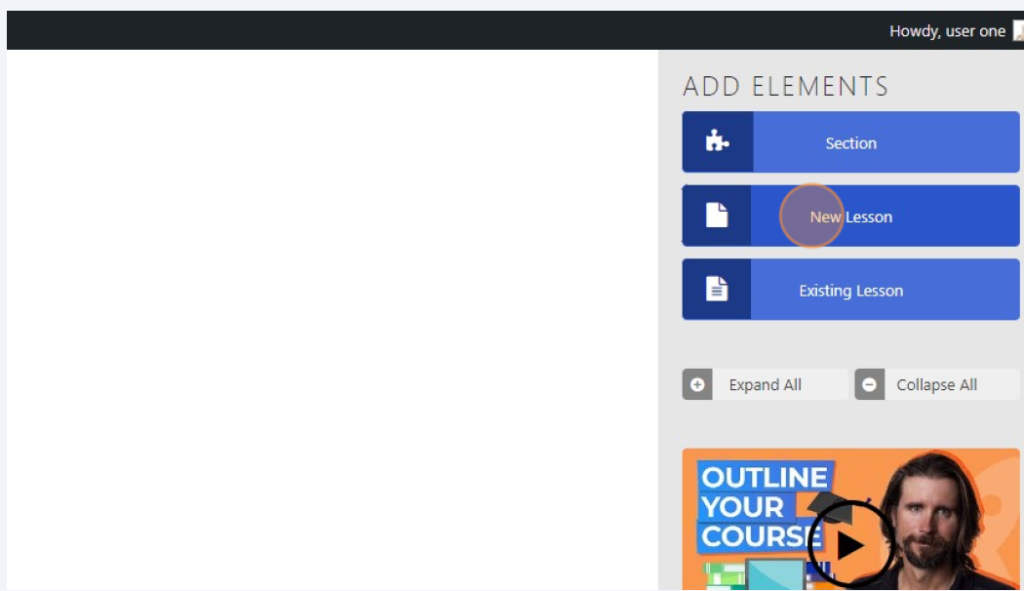
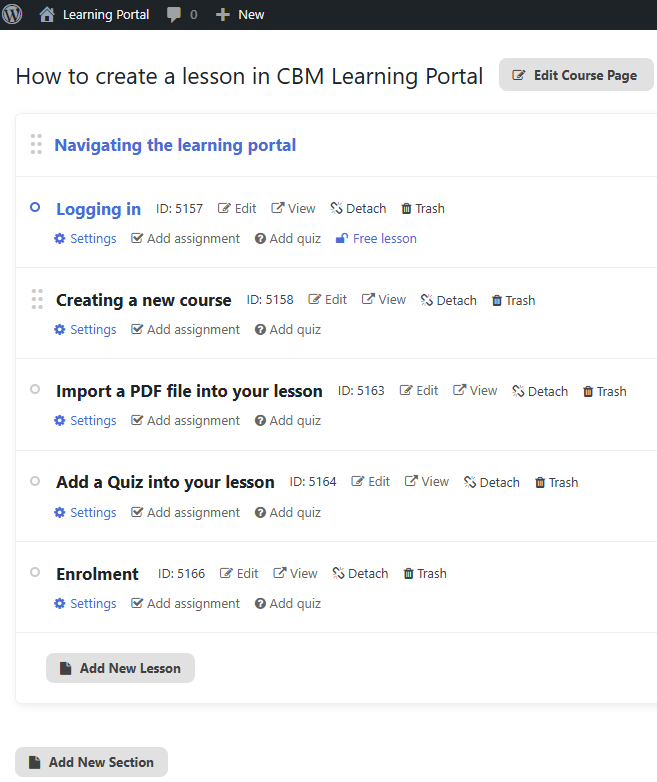
Now click on “New Lesson” to add a new lesson to your course. Follow the same steps to change the name of the lesson.
Step 5
Beside the name of the lesson, there is an edit button. Click on the edit button.
Step 6
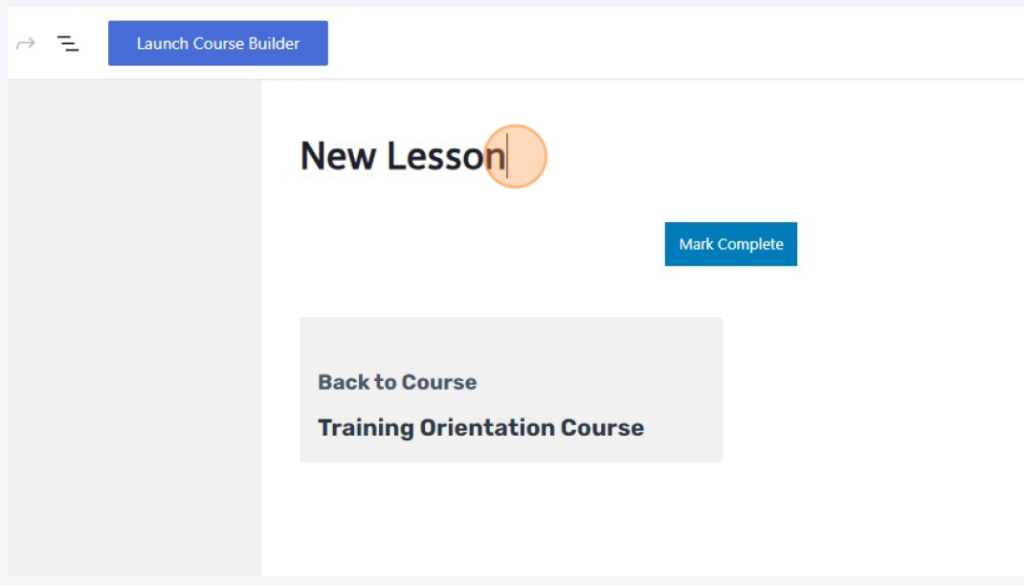
Click the title of your lesson, and hit the enter button. A space will appear between the title and the “Mark Complete” button. Click on the space.
Step 7
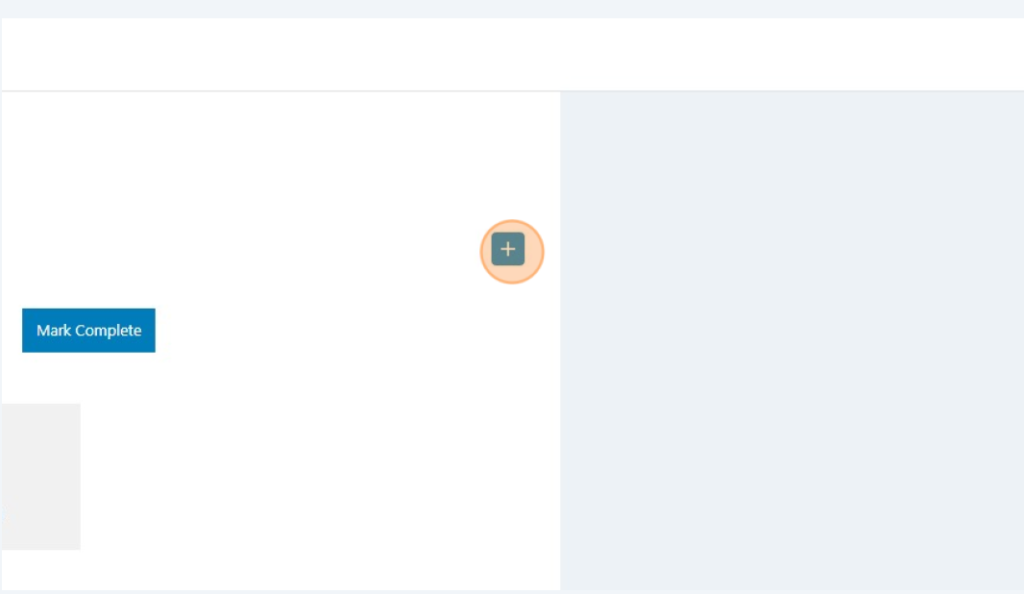
Click on the “Plus” icon.
Step 8
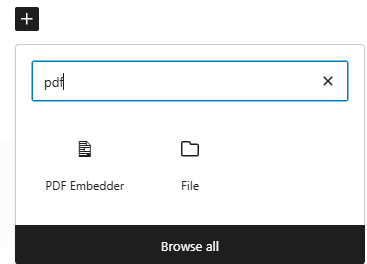
Click on the search bar that appears, and type “pdf” on it. Click on the “PDF Embedder” that appears.
Step 9
Click on the new button and upload the pdf you want to add to the lesson.
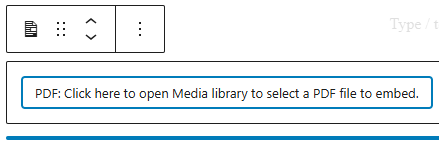
Click “Save” button on the top right corner of the interface.
Congratulations, you have added a PDF document to your lesson! We will learn how to add a quiz to your lesson in the next module.